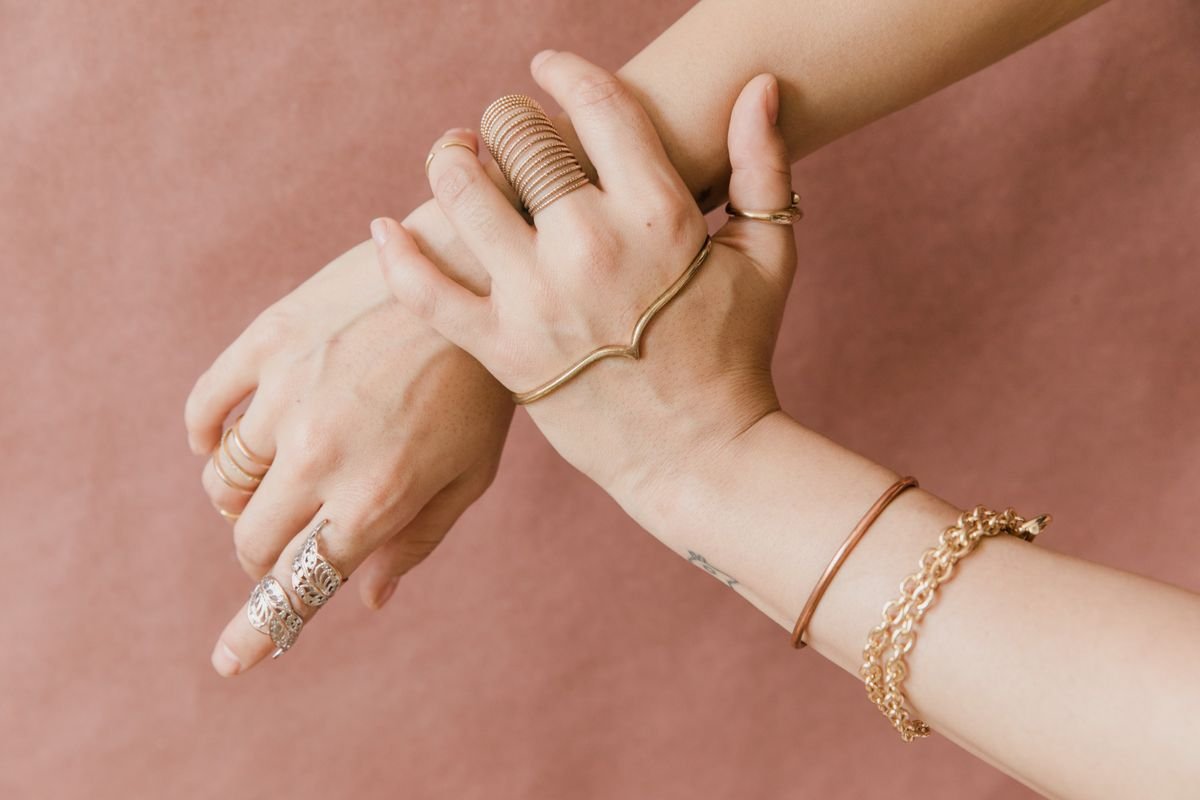
A ring stack is one of the easiest ways to make everyday jewelry feel personal. A few slim bands, a small signet, a ring with a tiny stone: worn together, they tell a little story, and you can change them as often as you like. The trick is balance, so the stack looks deliberate instead of crowded. This guide on how to stack rings covers six simple rules and combinations, from choosing a focal ring to mixing metals, with how to build each stack and keep it comfortable.
The short answer: pick one focal ring, add one or two thin bands around it, vary textures (plain, twisted, beaded, stone-set), spread rings across two or three fingers instead of piling them on one, and keep to one metal or mix on purpose. Make sure each ring fits comfortably; stacked rings feel tighter than a single ring.
1. Start with a focal ring
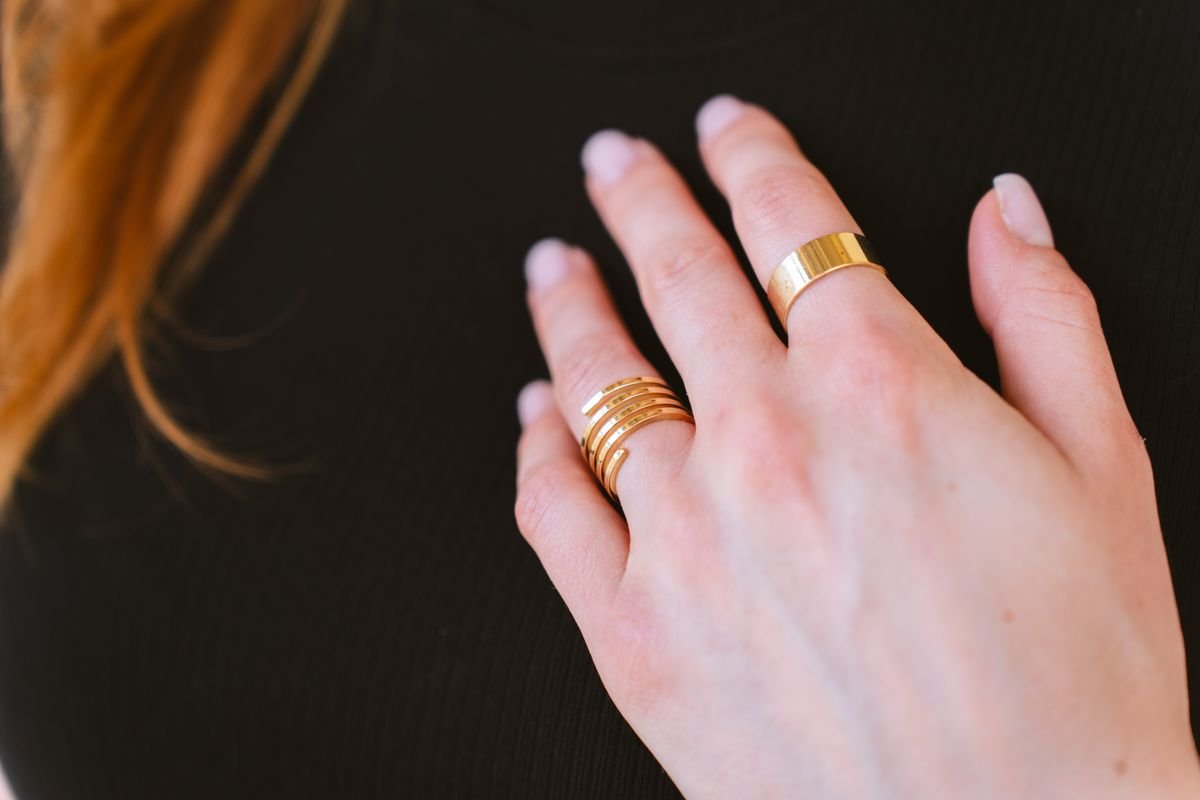
This photo shows a hand wearing a stack of thin gold rings with one wider band that draws the eye. A ring with a small oval stone framed by a plain thin band above and below works the same way. Every good stack has one ring that draws the eye first.
How to do it: choose your favorite or most eye-catching ring, such as a ring with a stone, a signet or a wider band, and build around it.
Tip: if you wear an engagement ring, it’s naturally the focal point. Add slim bands that sit flush against it.
2. Add thin bands for balance
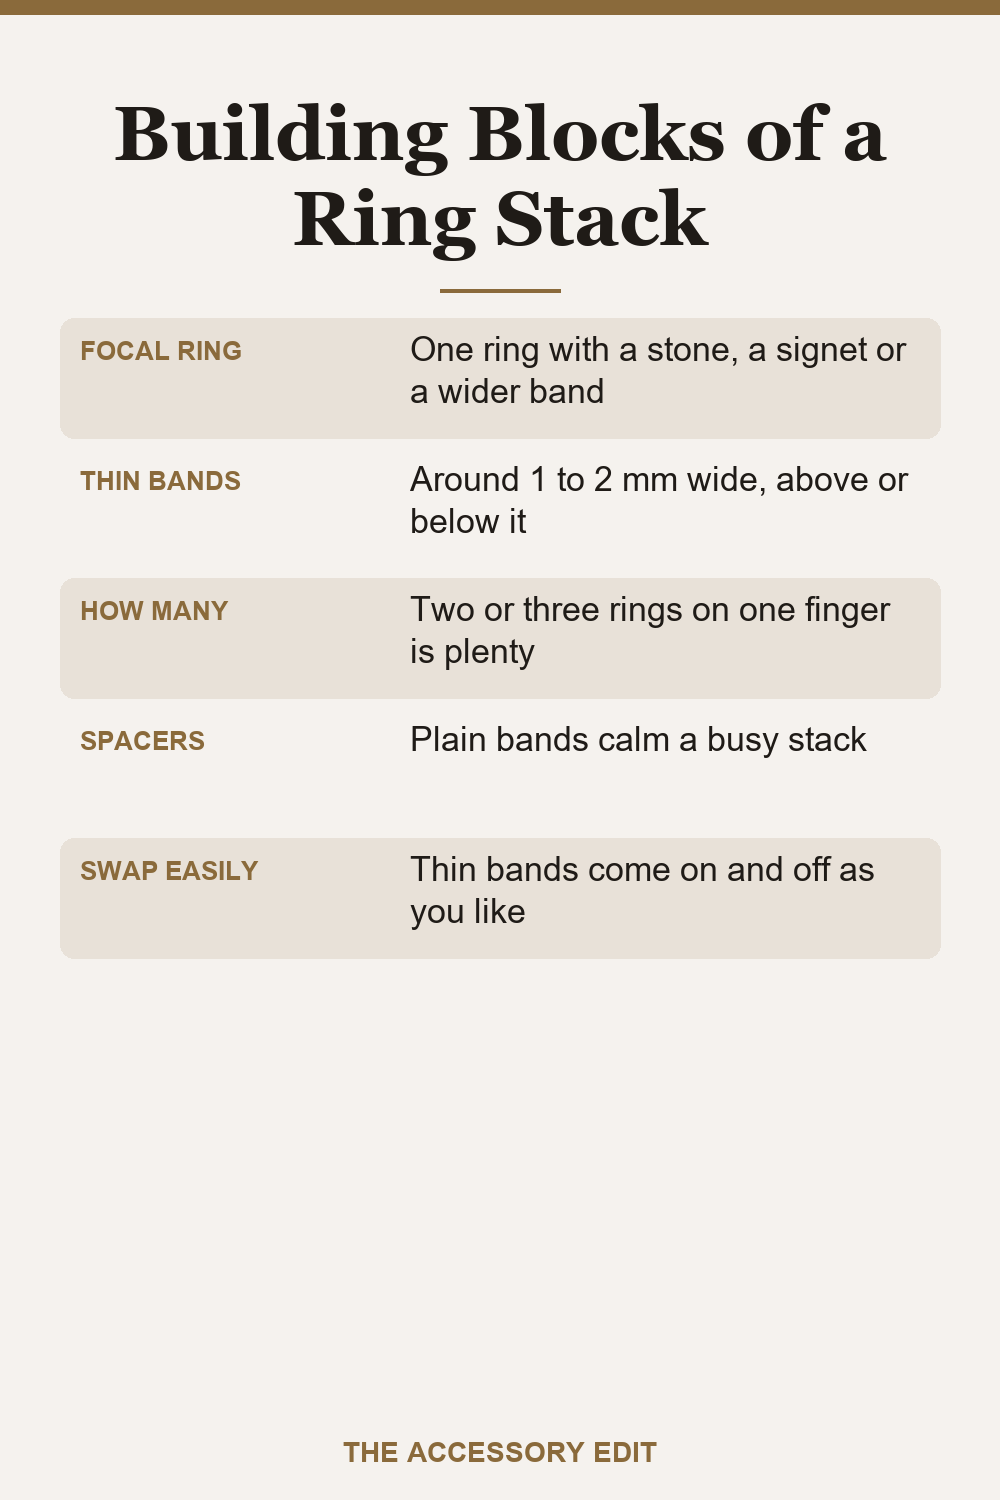
The card above lists the building blocks of a stack. Thin bands are the pieces that make it easy to add or remove rings.
How to do it: add one or two thin bands (around 1 to 2 mm wide) above or below the focal ring.
Tip: slim bands with a little texture catch the light better than plain ones and keep the stack interesting.
3. Mix textures
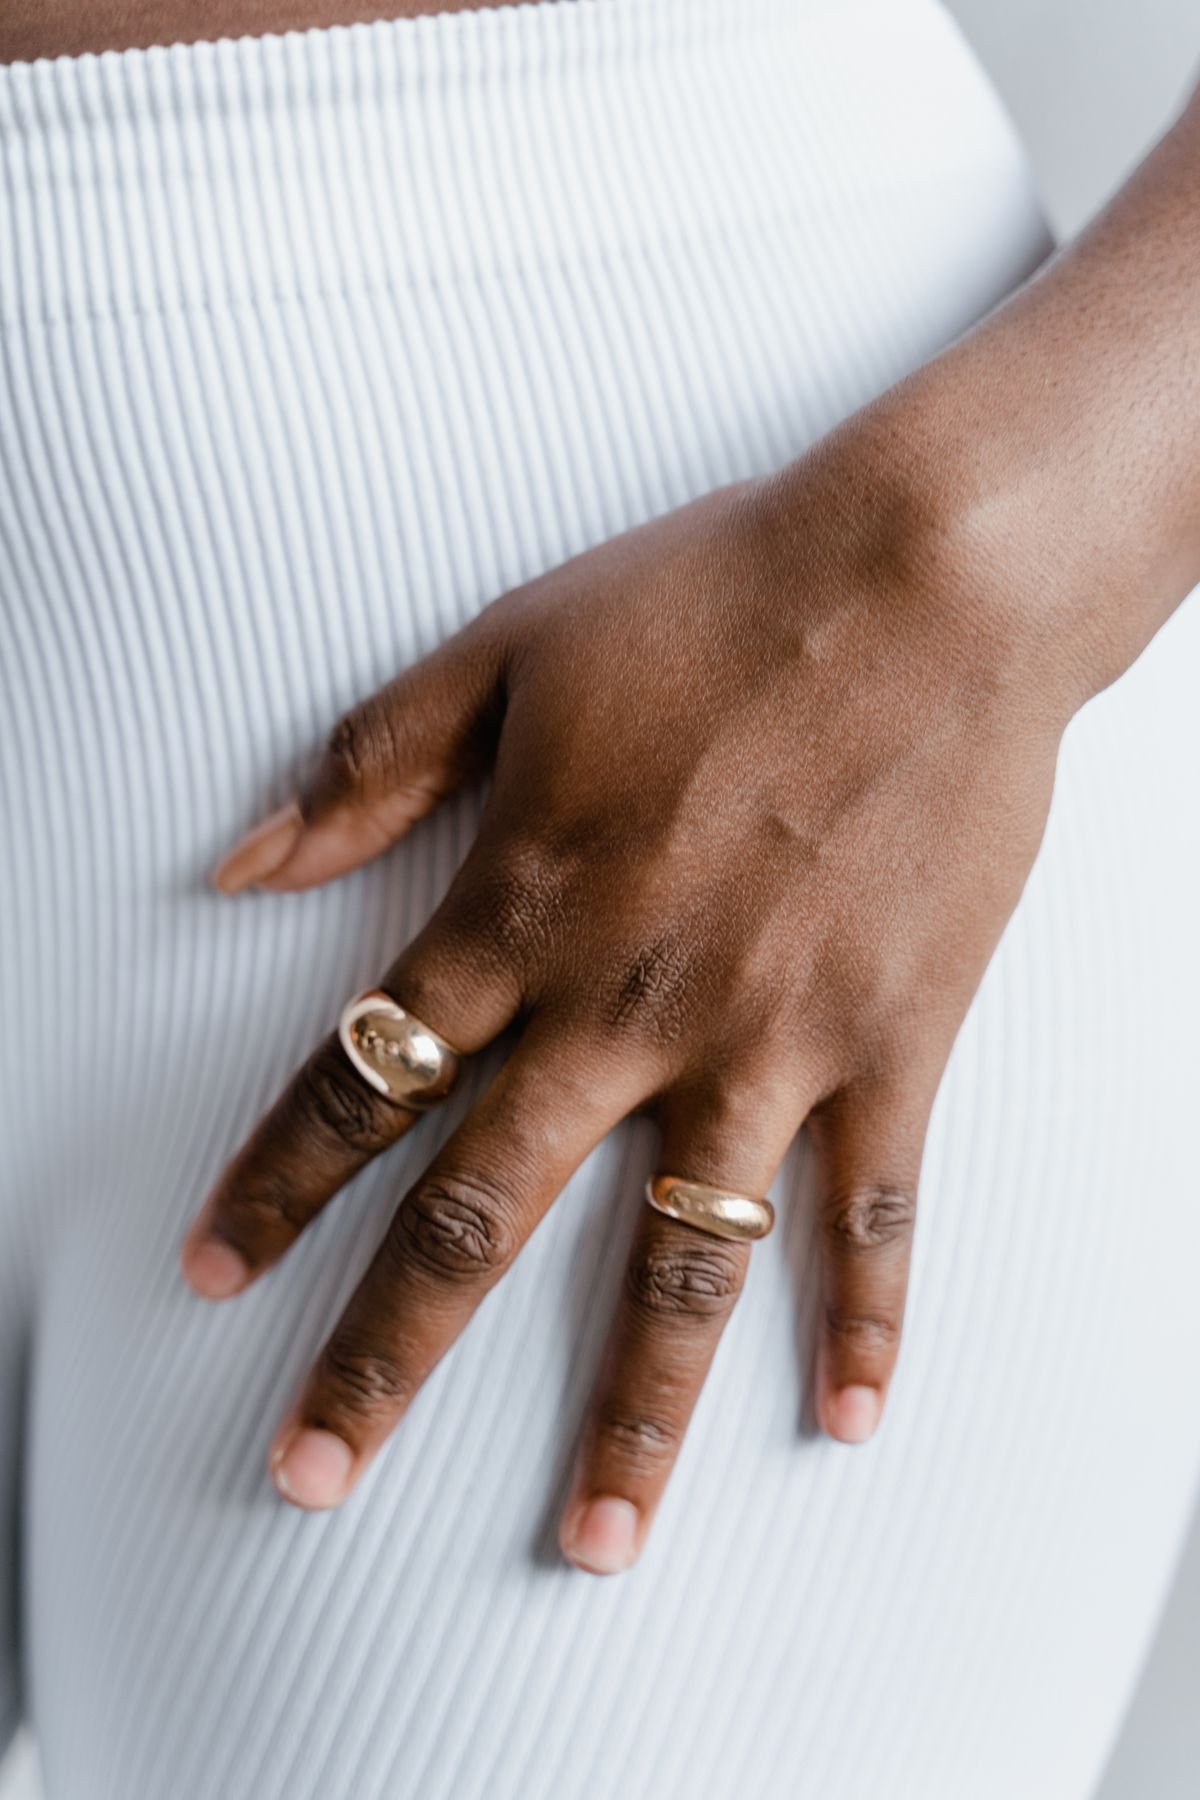
This picture shows a hand wearing several gold rings in different shapes and finishes. Try a stack that mixes a smooth band, a hammered band, a rope-twist band and a slim band set with tiny stones, all in yellow gold. Mixing textures within one metal adds depth without looking busy.
Textures to try: smooth, hammered, twisted, beaded, braided and stone-set (pavé or tiny stones).
Tip: keep one plain band in every stack to give the eye a place to rest.
4. Spread rings across fingers
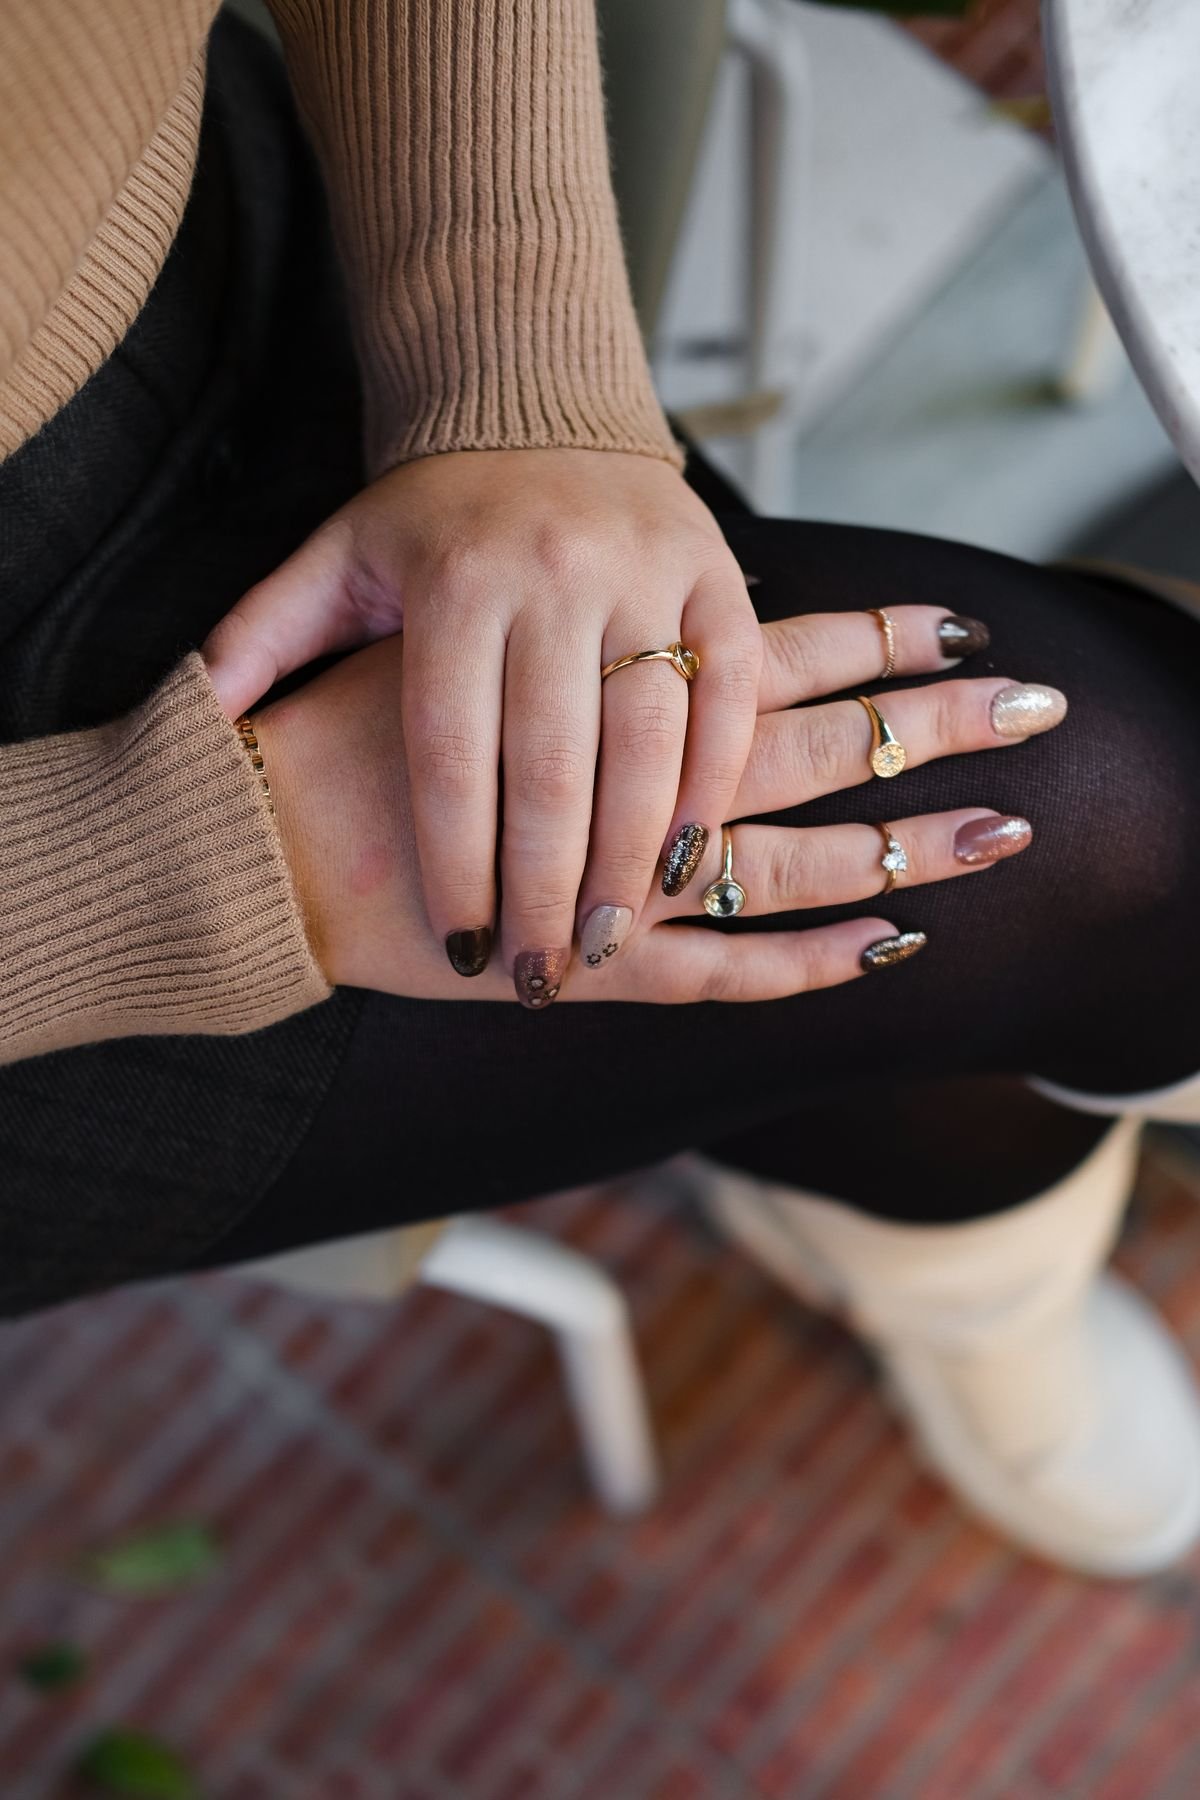
In this photo rings are spread across several fingers instead of piled on one. For example: a slim band on the index finger, a two-ring stack on the middle finger and a signet on the pinky, leaving the thumb and ring finger bare. Spreading rings across fingers looks balanced and is more comfortable than piling everything on one.
How to do it: choose two or three fingers. Put the heaviest or boldest ring on one finger, the main stack on another, and a single slim ring on a third.
Tip: leave at least one finger empty between stacks so the hand doesn’t look crowded.
5. Mix metals with intention
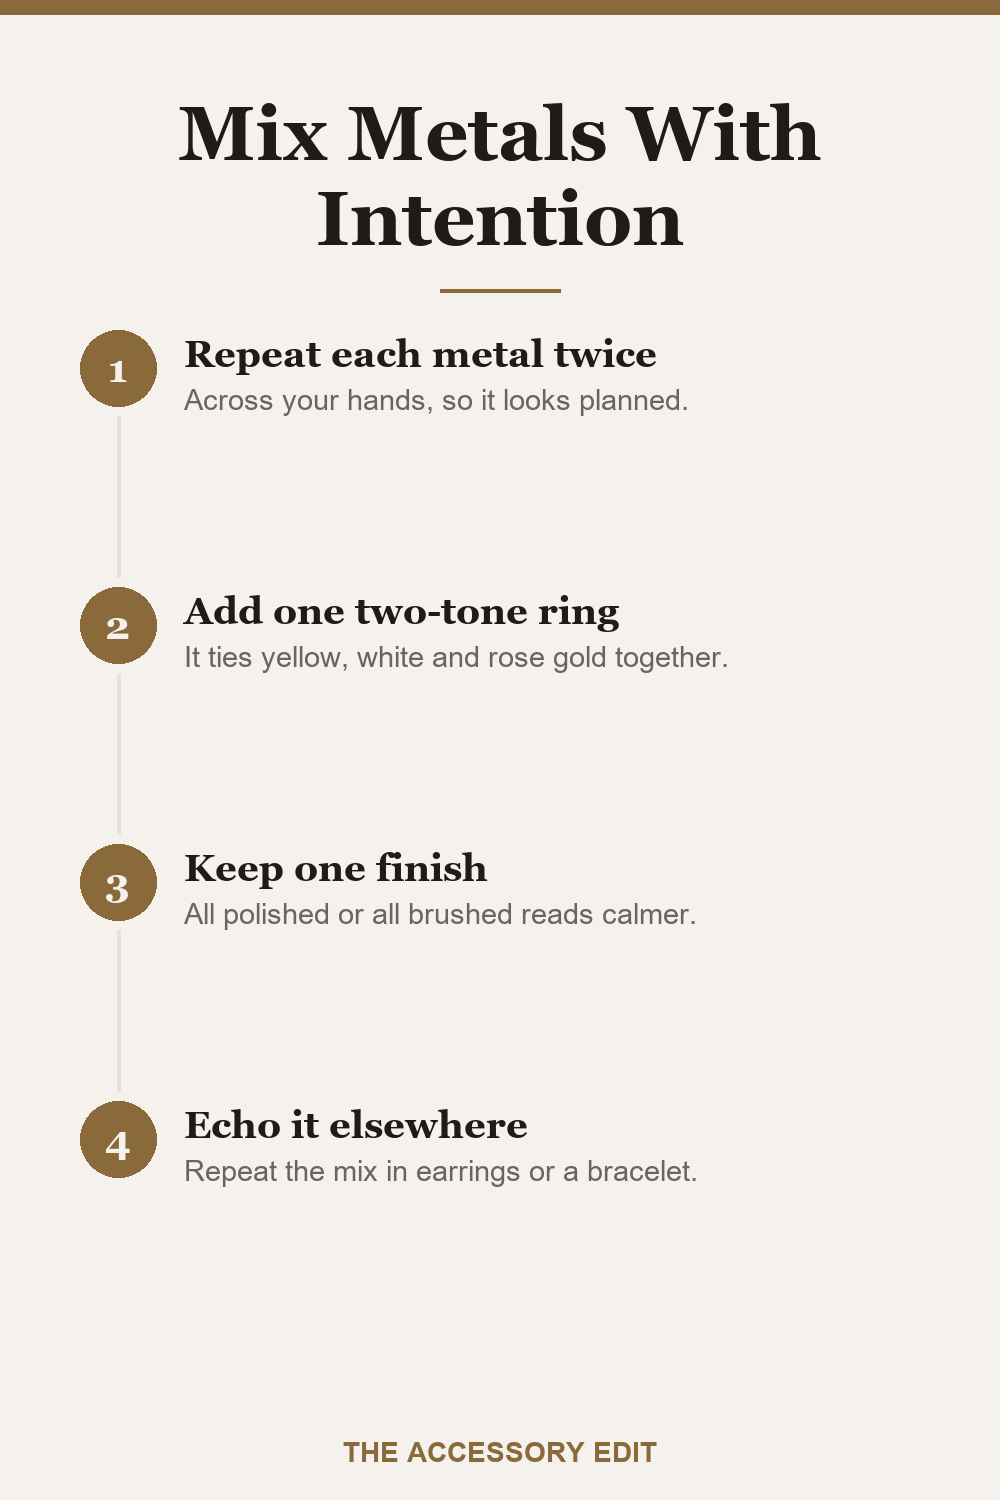
The four steps above make a mixed-metal stack look planned. Mixed metals look modern and relaxed, as long as the mix feels deliberate.
How to do it: repeat each metal at least twice across your hands, or use one two-tone or tri-color ring to connect them.
Tip: if you also wear a watch or bracelet, let it share a metal with your rings for a pulled-together look.
6. Make sure everything fits
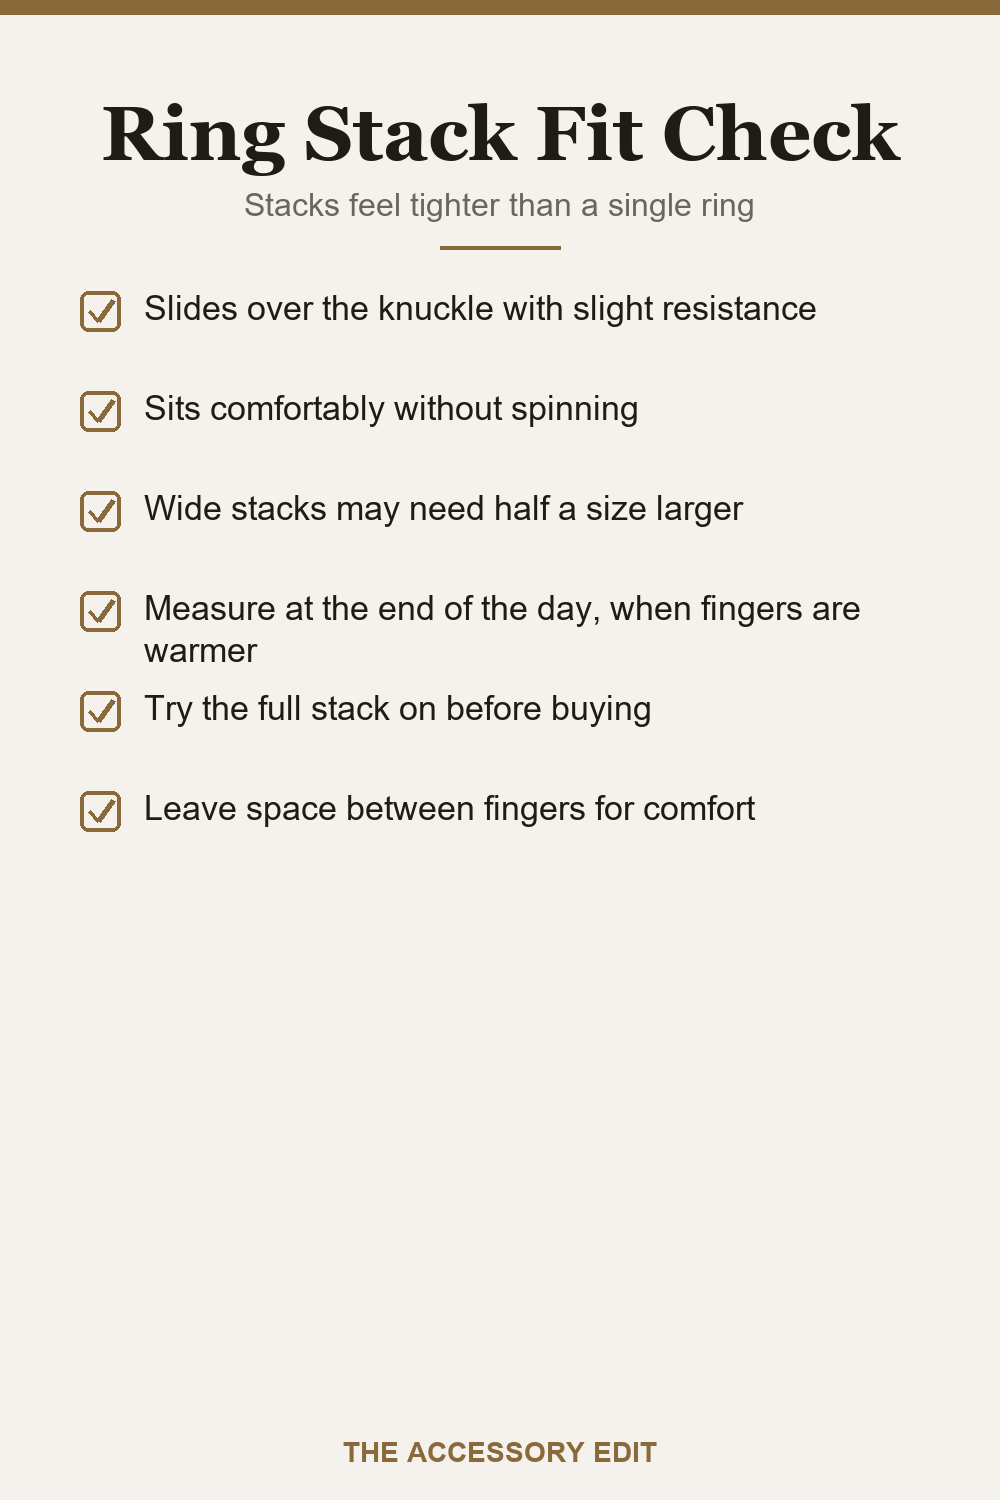
Run through the checklist above before you buy. Stacked rings can feel tighter than a single ring, so fit matters more than usual.
How to check fit: each ring should slide over the knuckle with slight resistance and sit comfortably without spinning. For wider stacks, you may need half a size larger than for a single thin band.
Tip: fingers swell in heat and shrink in cold, so check sizes at different times of day. Our guide on how to find your ring size at home walks through simple methods.
Three ring stacks to copy
If you’re not sure where to start, these three combinations show the rules in action. Use rings you already own, or add one piece at a time.
The minimalist stack: two very thin plain gold bands on the ring finger and one thin band on the index finger of the other hand. It’s quiet, easy to wear every day and works with any outfit.
The engagement ring stack: an engagement ring in the middle, a thin contoured or straight wedding band below, and a slim pavé or beaded band above. Matching metals keep it elegant; a rose gold band adds a soft contrast.
The statement stack: a signet ring on the pinky, a stack of a hammered band and a stone-set band on the middle finger, and a twisted band on the index finger. Mixing widths and textures gives it personality.
How to wear stacks comfortably every day:
- Take rings off for hand-washing heavy dishes, gardening, the gym and swimming.
- Choose rounded “comfort fit” bands, which slide more easily over the knuckle and feel smoother between fingers.
- Check stone-set bands now and then for loose stones, and clean them gently with warm water and mild soap.
Tip: take a photo of a stack you love, so you can recreate it quickly on busy mornings.
How to stack rings: quick rules
- One focal ring per hand.
- Add one or two thin bands for balance.
- Mix textures; keep one plain band.
- Spread rings across two or three fingers.
- One metal, or mix on purpose.
- Check fit, since stacks feel tighter.
You might also like
FAQ
How many rings should I stack on one finger?
Two or three slim rings are comfortable for most people. More can work with very thin bands.
Can I stack rings with my engagement ring?
Yes. Choose bands that sit flush with the setting, or contoured bands that curve around the stone.
Should stacking rings be a bigger size?
Wider stacks often need about half a size larger than a single thin band. Try them on together before buying.
Start with one focal ring and two thin bands, then add one new ring at a time until your stack feels like you.

Leave a Reply